Zenthusiast.net
Would you like to react to this message? Create an account in a few clicks or log in to continue.


A forum for any Z enthusiast! Young or old. This is a place for those who have questions and need help or Z enthusiasts that just wanna hang out and share stories of their Z's
 
HomePortalGalleryLatest imagesSearchRegisterLog in


 How-To: Stillen Type III lip: Install & paint

Go down 
2 posters
AuthorMessage
Z_trbl_mkr
Admin
Z_trbl_mkr


Number of posts : 654
Age : 38
Location : New Oxford, PA
Car Year/Make/Model : '90 Nissan 300ZX N/A
Registration date : 2008-07-01

How-To: Stillen Type III lip: Install & paint Empty
PostSubject: How-To: Stillen Type III lip: Install & paint   How-To: Stillen Type III lip: Install & paint EmptyTue Oct 07, 2008 7:01 am

Due to popular demand I am posting a Stillen Type III lip write up.

Before I start with the How to's here is a list of the tools used.

Installation

Screw driver
1" Self tapping screws
3M double sided tape
Grinder

Paint

600 grit sand paper
800 grit sand paper
2000 grit sand paper
Paint gun
1/2 Pint of paint (Artic white (base & pearl) in my case)
Primer
Clear
Flex additive
Fish eye reducer
Meguiar's Diamond cut compound
Adjustable speed Buffer
Tach cloth
Oil/Residue remover

-----------------------------------------------------------------------

And now we begin

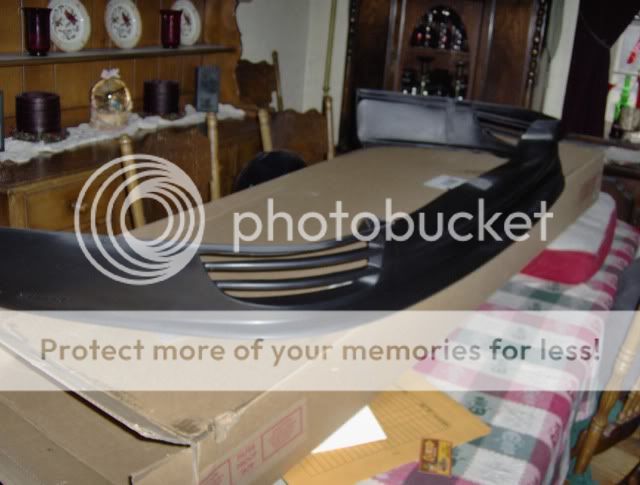
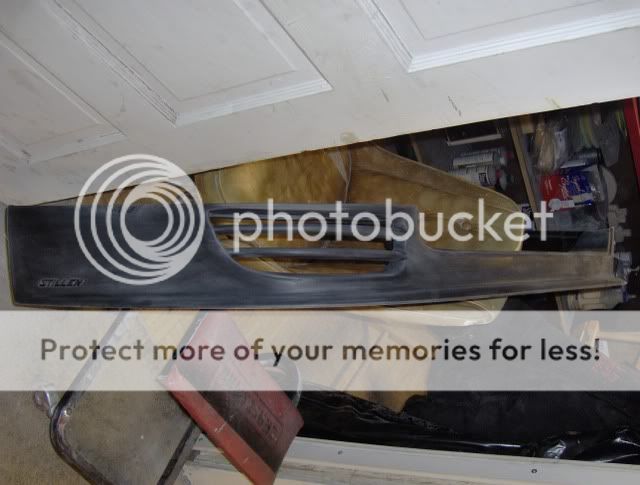
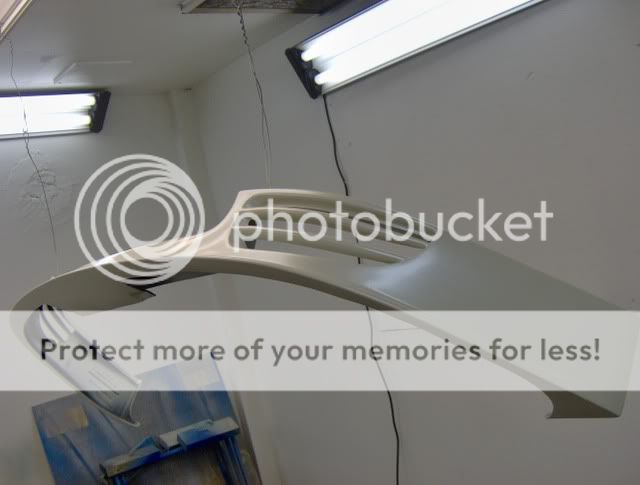
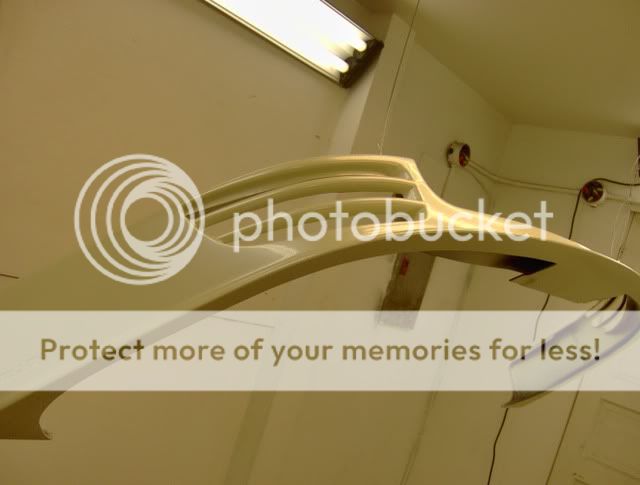
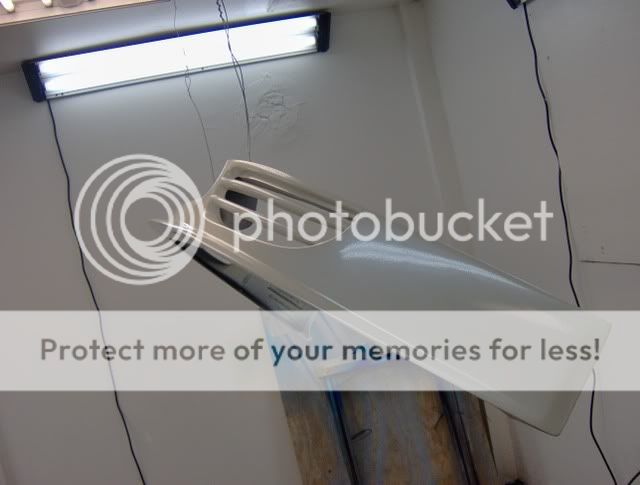
Stillen Lip as it came just out of the box
How-To: Stillen Type III lip: Install & paint HPIM1130


First thing you want to do it test fit the lip. Find out how well it already fits and how flush you really want to make it.
How-To: Stillen Type III lip: Install & paint HPIM1133

Once you have figured this out. I took a grinder to the inside of the lip (area that pushes the lip away from car) to make the lip more flush. This brought the lip closer to the car and made it more flush.

*Unlike fiberglass where you would want to heat set the lip to the car. You do not need to do so with Polyurethane.

How-To: Stillen Type III lip: Install & paint HPIM1134


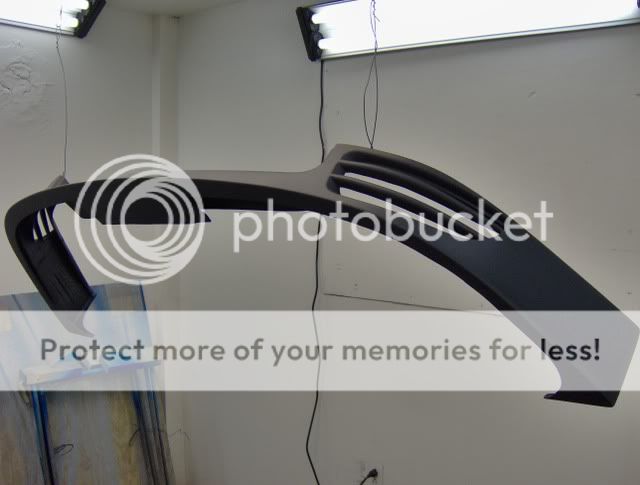
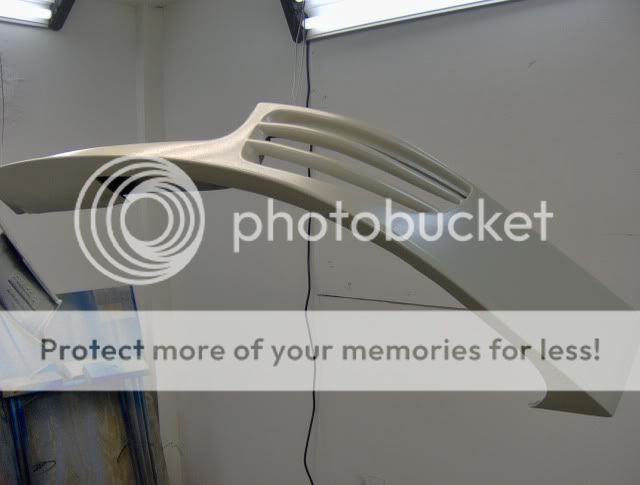
When you have the Lip fitted to the car to where you are pleased sand down the lip until it is not shiny! I used 600grit followed by 800 grit sand paper to do so. You do not want any shine on the lip what so ever! Once the lip is a dull black you are ready for paint.

How-To: Stillen Type III lip: Install & paint HPIM1193

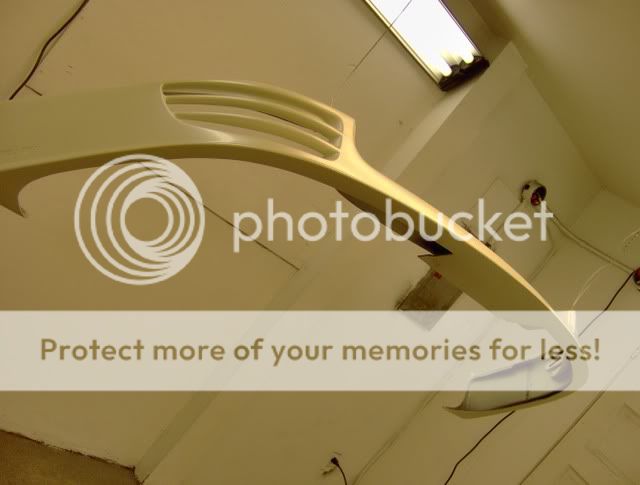
I used some left over wire to hang the lip up in the air so I had better access in painting.

Once in the air wipe down with tach cloth and oil/residue remover.

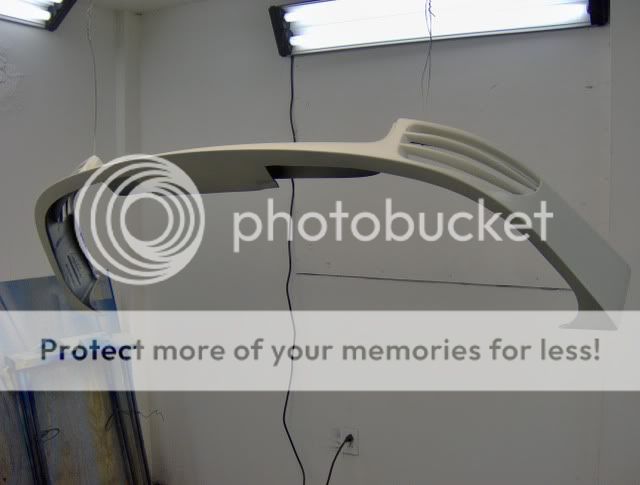
You are ready for primer. Mix your primer and put in gun. Set you nozzle on your spray gun to where you are happy (even fan). Spray 2 coats (tach coat and 1 semi heavy coat after). Wait 30 min to let set. Once you primer is dry take the 800 grit to smooth down the lip a little more. Do Not take off the primer. You just want to make it more smooth.
How-To: Stillen Type III lip: Install & paint HPIM1194

Now it's time for your base coat. Mix your base do a tach coat followed by 3-4 coats afterwards.
How-To: Stillen Type III lip: Install & paint HPIM1197
How-To: Stillen Type III lip: Install & paint HPIM1199

Follow same procedure for pearl as you did for the base.
How-To: Stillen Type III lip: Install & paint HPIM1200
How-To: Stillen Type III lip: Install & paint HPIM1201
How-To: Stillen Type III lip: Install & paint HPIM1202
How-To: Stillen Type III lip: Install & paint HPIM1203
How-To: Stillen Type III lip: Install & paint HPIM1204

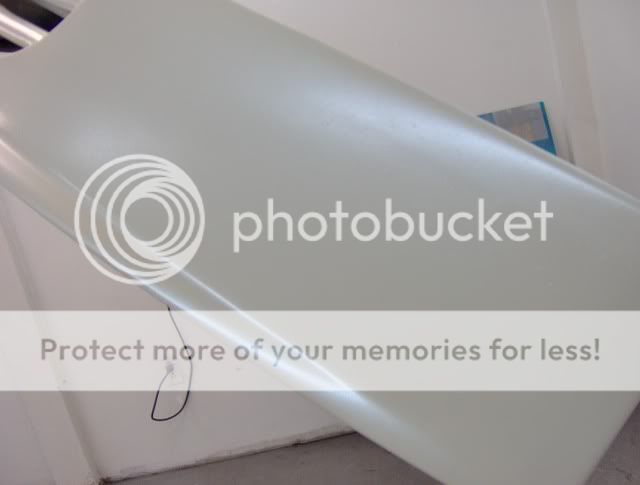
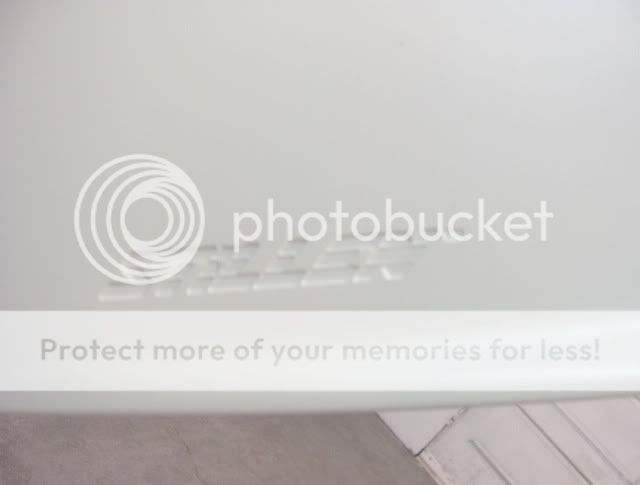
Now you are ready for clear. Mix your clear and follow same steps as you did for the base and pearl.
How-To: Stillen Type III lip: Install & paint HPIM1209
How-To: Stillen Type III lip: Install & paint HPIM1210
How-To: Stillen Type III lip: Install & paint HPIM1211
How-To: Stillen Type III lip: Install & paint HPIM1212
How-To: Stillen Type III lip: Install & paint HPIM1213

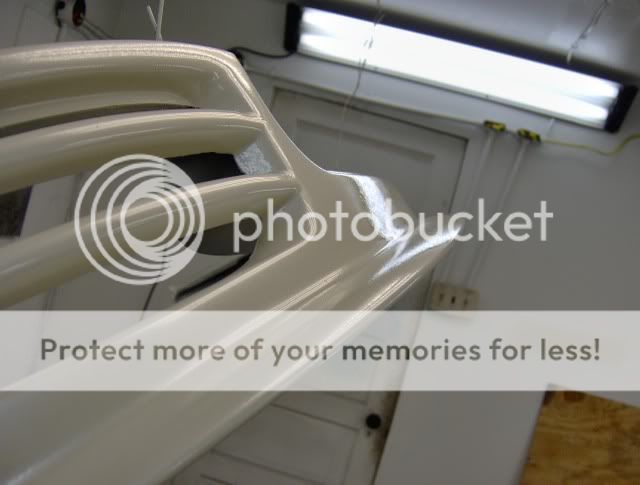
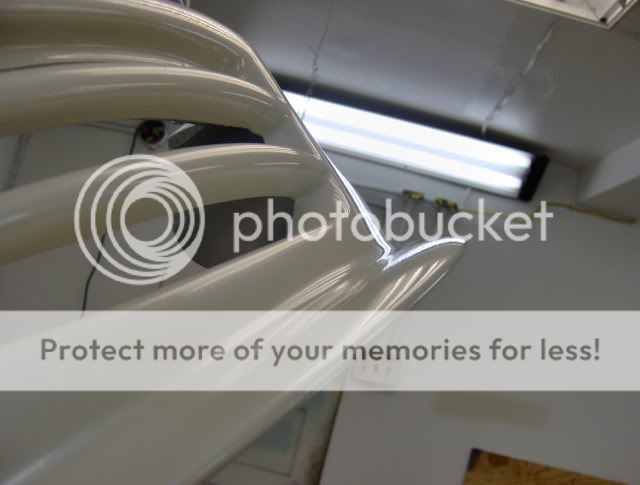
Once the clear is dry (check clear can for time). The clear I am uses sets in 2 hours, but I waited 24 hours to give extra time. I came back and wet sanded with 2000grit wet sand paper and buffed it out with Meguair's Diamond Cut Compound.

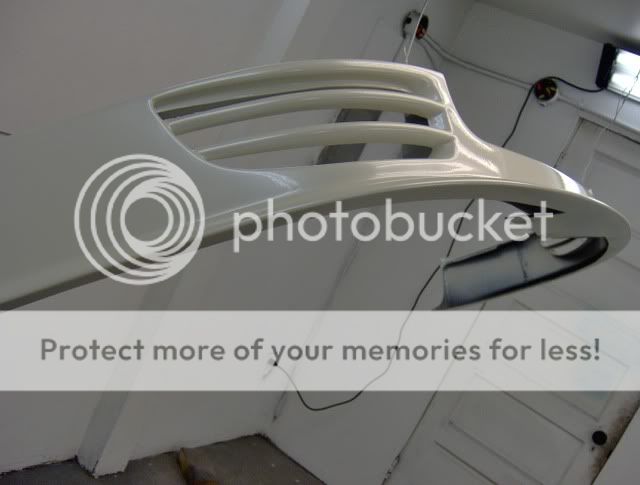
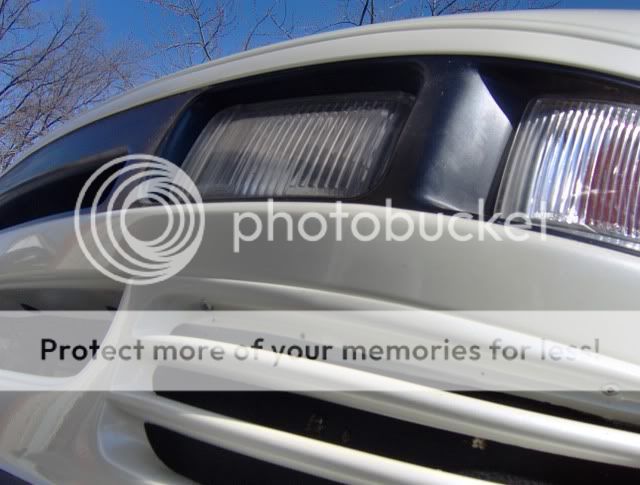
After your wet sand and buff refit the lip. Should be a good fit. Mark the under side of the top vent on either side with a black marker so you know where you want to screw/pop rivet the lip into place. You also want to mark where to cut your stock bumper or paint it so your vents look right.

* I originally used pop rivets that came with lip, but they sucked and fell out after a day so I went back with the self tapping screws that work fine.)

How-To: Stillen Type III lip: Install & paint HPIM1219

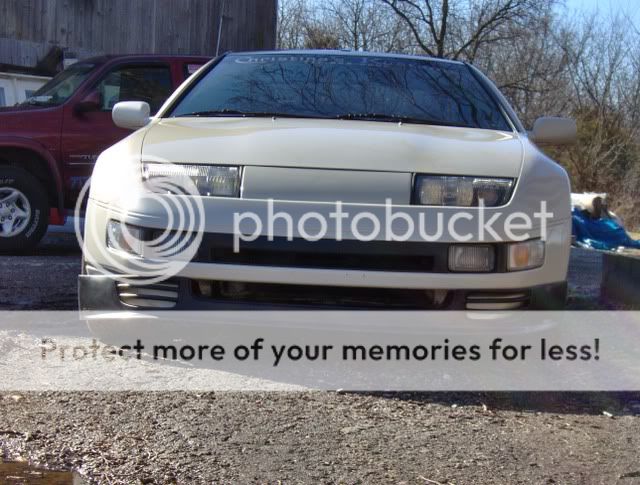
Once marked up screw/pop rivet lip into place

How-To: Stillen Type III lip: Install & paint HPIM1221

How-To: Stillen Type III lip: Install & paint HPIM1222

How-To: Stillen Type III lip: Install & paint HPIM1223


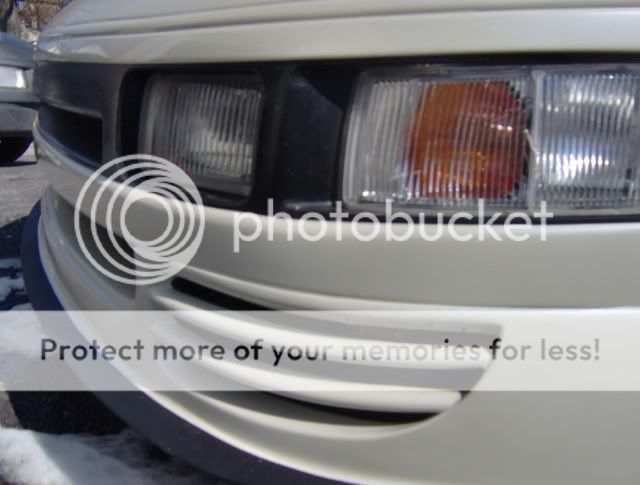
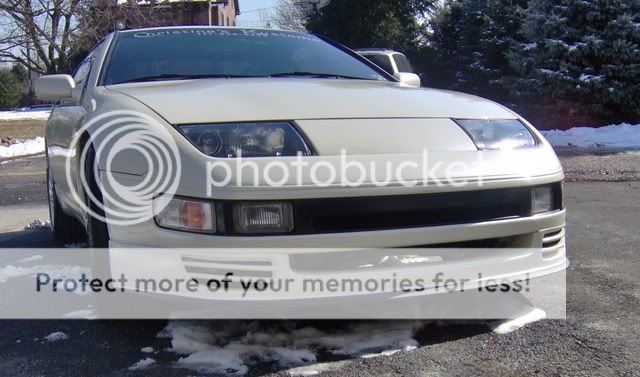
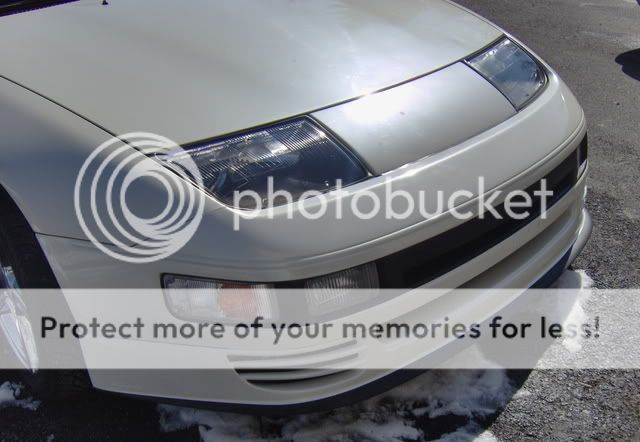
And wa la you now have the Sitllen Type II lip on your Z and she's looking sexy as hell.

How-To: Stillen Type III lip: Install & paint HPIM1228

How-To: Stillen Type III lip: Install & paint HPIM1229
Back to top Go down
http://www.myspace.com/z_trbl_mkr
Mr Z
Mod
Mr Z


Number of posts : 298
Age : 43
Location : South East, Georgia
Car Year/Make/Model : 1990 Nissan 300zx 2+2
Registration date : 2008-07-02

How-To: Stillen Type III lip: Install & paint Empty
PostSubject: Re: How-To: Stillen Type III lip: Install & paint   How-To: Stillen Type III lip: Install & paint EmptyTue Oct 07, 2008 8:37 am

im soo blasted jealous and not of the Z, of the paint booth. Razz

im a wanna be shade tree painter :-P
Back to top Go down
http://www.cardomain.com/id/MrZ912
 
How-To: Stillen Type III lip: Install & paint
Back to top 
Page 1 of 1
 Similar topics
-
» MegaZ radiator air guide install
» How to: hatch strut install - my experience
» pulstar plug install
» How to: Install 9005 bulbs in your 9006 low beam sockets
» turbo timer install anyone?

Permissions in this forum:You cannot reply to topics in this forum
Zenthusiast.net :: Z car Modifications & Technical Topics :: Installation/How to's-
Jump to: